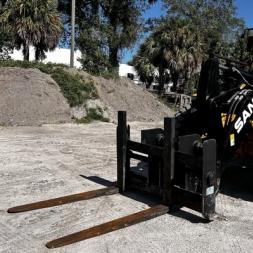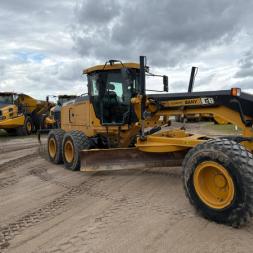
- Remove the hood - remove the bolts using a drill, with a forklift and safety precautions, a team of guys can move the hood onto palettes on the forklift.
- Take off the air intake – the intake sits right above where the crack was, so it needs to come off in order to fully access and repair our problem.
- Drain the hydraulic fuel – water leaking in from the crack caused rust and corrosion to contaminate the hydraulic fuel, so it had to be drained regardless. But for safety precautions, such as the grinding and welding right above the tank, a full tank would not be safe. After draining it with a transfer pump for the majority of the fuel, the rest can be emptied by removing the panel under the tank.
- Grind down the old weld – because of past welds, grinding the surface clean will ensure the weld is applied properly and provides a strong fix to the crack. In this case a die grinder is used to valley out the crack. This allows the weld to sit deeper in the groove and durable and watertight repair.
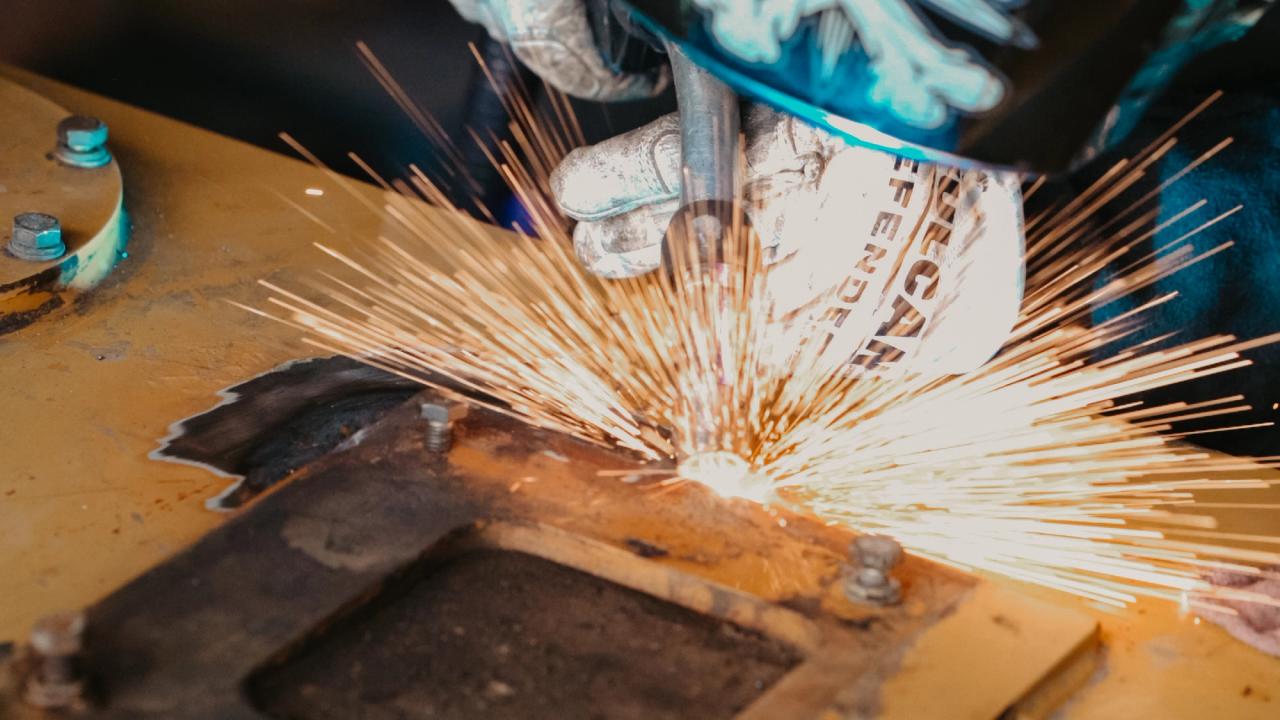
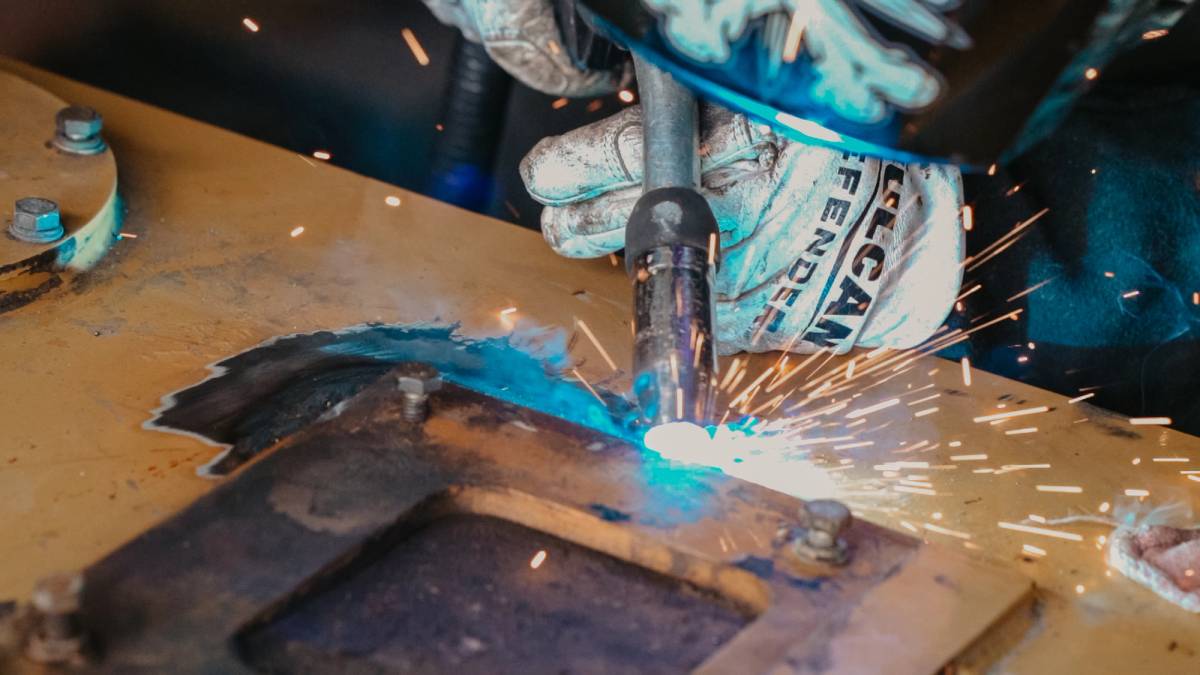
- Weld it back up – in this case, the best solution was to do three passes on the weld after removing so much of the original material; the first to replace the original material; the second to repair the crack; the third an aesthetic choice to make sure it looked clean and married the first two together.
Preparation of the Weld JointTools / Supplies Needed for this Weld:
- Welding Machine / Welding Accessories
- Power Source
- MIG Welding Wire
- Wire Feed System
- Electrode Wire
- Shielding Gas
- Metal Cutting Tool
- Angle Grinder
- Safety Gear – Like Gloves, glasses and Flame-resistant clothing
